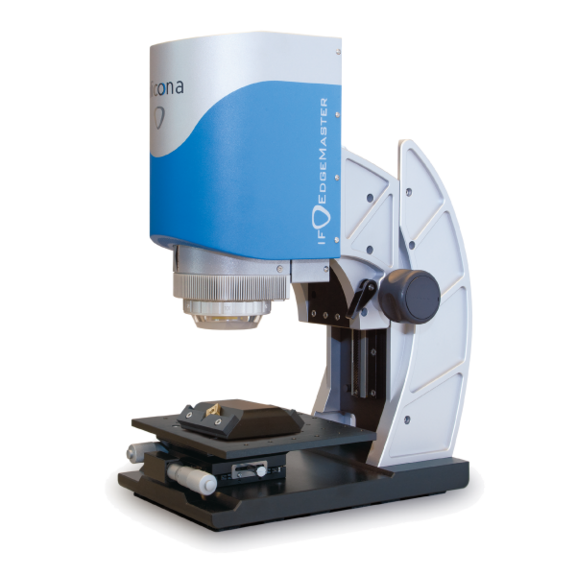
EdgeMaster – Automatic cutting edge measurement in production
The EdgeMaster is an optical 3D measurement device for automatic cutting edge measurement. Edges of inserts, drills, millers and other round tools are measured regardless of type, size, material, or surface finish.
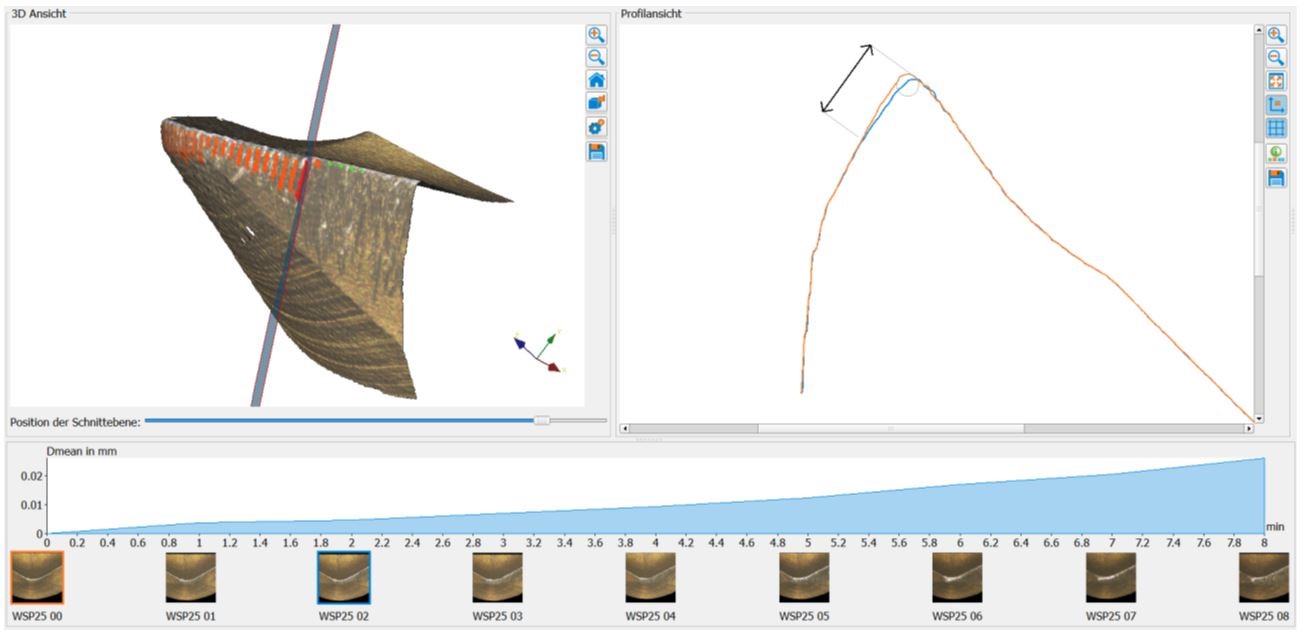
Users measure radii >2μm as well as rake, wedge and clearance angle of tools. Different types, including both waterfall and trumpet, are precisely measured. Traceable and repeatable results are delivered in high vertical resolution even at vibrations, variations in temperature and ambient light. In addition to chipping measurement, the high vertical resolution also enables traceable roughness measurement on the rake face.
Technical Specifications
| Measurement principle | non-contact, optical, three-dimensional, based on Focus-Variation |
| Positioning volume (X x Y xZ) | RL objectives: man.: 25 mm x 25 mm x 155 mm (Z: 25 mm mot., 130 mm man.) = 96875 mm3 SXRL/AXRL objectives: man.: 25 mm x 25 mm x 120 mm (Z: 25 mm mot., 95 mm man.) = 75000mm³ |
| Objective magnification | 10x | 20x | 50x | 2xSX | 5xAX | 10xAX | 20xAX | 50xSX | |
| Working distance | mm | 17.5 | 16 | 10.1 | 34 | 34 | 33.5 | 20 | 13 |
| Lateral measurement range (X,Y) (X x Y) |
mm mm² |
2 4 |
1 1 |
0.4 0.16 |
10 100 |
3.61 13.03 |
2 4 |
1 1 |
0.4 0.16 |
| Vertical resolution | nm | 100 | 50 | 20 | 3500 | 460 | 130 | 70 | 45 |
| Height step accuracy (1 mm) | % | 0.1 | 0.1 | 0.1 | 0.1 | 0.1 | 0.1 | 0.1 | 0.1 |
| Min. measurable roughness (Ra) | µm | 0.3 | 0.15 | 0.08 | n.a. | n.a. | 0.45 | 0.25 | 0.15 |
| Min. measurable roughness (Sa) | µm | 0.15 | 0.075 | 0.05 | n.a. | n.a. | 0.25 | 0.1 | 0.08 |
| Min. measurable radius | µm | 5 | 3 | 2 | 20 | 10 | 5 | 3 | 2 |


