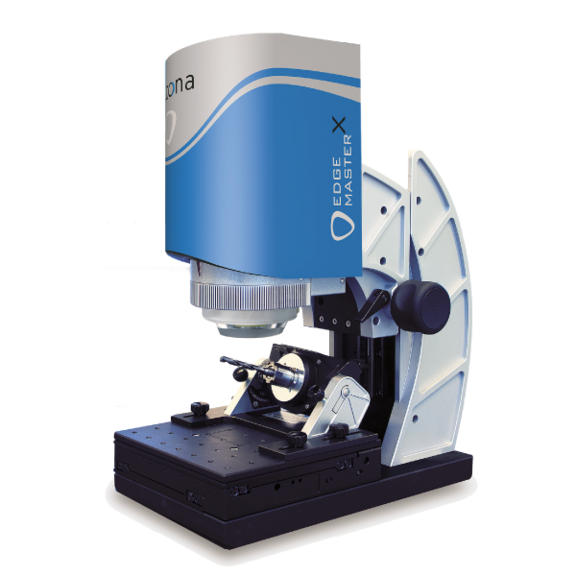
EdgeMasterX – Multiple edges in only one measurement run
The EdgeMasterX originates from the Alicona product line for optical, automatic tool measurement in high resolution. It is a fully automated cutting edge measurement system for quality assurance of drills, millers and other round tools to be applied in production. Specifically, the EdgeMasterX enables automated multi-edge measurement. When utilized in combination with a motorized rotation unit, users benefit from the measurement of multiple tool edges, even chamfered edges, in one single measurement run. Deviations from a CAD file or reference geometry are indicated through a traffic light system. Measurements are initiated by a single button solution allowing for measurements to be performed without any further user interaction.
Technical Specifications
| Measurement principle | non-contact, optical, three-dimensional, based at Focus-Variation |
| Positioning volume (X x Y x Z) | RL objectives: mot.: 50 mm x 50 mm x 155 mm (Z: 25 mm mot., 130 mm man.) = 387500 mm³ SXRL/AXRL objectives: mot.: 50 mm x 50 mm x 120 mm (Z: 25 mm mot., 95 mm man.) = 300000 mm³ |
| Objective magnification | 10x | 20x | 50x | 2xSX | 5xAX | 10xAX | 20xAX | 50xSX | |
| Working distance | mm | 17.5 | 16 | 10.1 | 34 | 34 | 33.5 | 20 | 13 |
| Lateral measurement area (X,Y) (X x Y) |
mm mm² |
2 4 |
1 1 |
0.4 0.16 |
10 100 |
3.61 13.03 |
2 4 |
1 1 |
0.4 0.16 |
| Vertical resolution | nm | 100 | 50 | 20 | 3500 | 460 | 130 | 70 | 45 |
| Height step accuracy (1 mm) | % | 0.1 | 0.1 | 0.1 | 0.1 | 0.1 | 0.1 | 0.1 | 0.1 |
| Max. measurable area | mm² | 2500 | 2500 | 2500 | 2500 | 2500 | 2500 | 2500 | 2500 |
| Min. measurable roughness (Ra) | µm | 0.3 | 0.15 | 0.08 | n.a. | n.a. | 0.45 | 0.25 | 0.15 |
| Min. measurable roughness (Sa) | µm | 0.15 | 0.075 | 0.05 | n.a. | n.a. | 0.25 | 0.1 | 0.08 |
| Min. measurable radius | µm | 5 | 3 | 2 | 20 | 10 | 5 | 3 | 2 |


